Thanks to the miracle that is called Melatonin I'm back on Californian time despite arriving back from China only yesterday afternoon. I've spent this week in Xiamen along with my salesrep Jeff Merrill, the project manager Mike Jensen and Steve D'Antonio doing a mid-build inspection at the yard.
Paying a visit to the yard during the build process is no holiday. Xiamen is no garden paradise. Fortunately, a typhoon that blew through just before we arrived cleared the air of the pollution normally present. The yard is not a pleasant place to be - especially once you leave the air-conditioned office and head down to the construction sheds. It's very loud, dusty and there's plenty of noxious fumes to make sure you leave everyday with a brutal head ache. So why go? Well, not only is curiosity satisfied but the yard always have questions and being able to be there to answer them speeds things up.
Things are going well. While we found a couple of things that needed correcting, there was nothing major. The activity is nothing short of breathtaking. There must have been at least a couple of people working away in every room, usually many more. Not only that, but as we toured the yard, we saw many people working on things that will be going in Blossom. While nobody is prepared to commit to anything, it looks likes there's only a few months to go before she's completed at the yard and ready to be shipped to Florida.
I'm impressed with the quality of the work being done by the yard. They're executing a complicated build with a fine attention to detail. The level of craftsmanship is fantastic. I watched one of the workers carve a block of wood with a chisel to fit it against a complex curve on the side of the helm. By the time he was finished, you couldn't have slid a sheet of paper between the two.
While there we took many photos and I've spent this morning sifting through them to come up with a guided tour of Blossom. Enjoy!
The Outside
Most of the progress has been happening inside Blossom, but outside has shown some changes as well.
Sitting on her cradle
Tow eye and bash plate
Bow thruster
Main engine keel cooler and, to the left, lightening ground plate. Note the barrier plate and bottom plate behind the keel cooler.
Hydraulics keel cooler, also with bottom paint behind it.
Stern thruster.
Main prop shaft.
Rudder
Cockpit, looking forward.
Cockpit console which will be installed below the window.
Cockpit seating. we saw it being placed on the cockpit while we were there.
One of the ventilation ducts down into the engine room.
Looking down the duct.
A nice shot of them man-handling the cockpit into place. You can see the extended swim platform. The hump below the swim platform stops slapping from waves while at anchor. We had the boat deck extended and you can see just how far back it extends. My fair skin is thanking me already!
A view of the boat deck. The extension starts at the bump.
Not much to see at the flybridge.
View of the pilot house from the foredeck.
Anchor locker and bowsprit.
A view down into the anchor locker with the shelf we had added.
The Salon
We've made quite a few changes to the plan of the salon. Look for the squared off stack and the absence of lockers over the counter. We filled out the breakfast bar, turning it into a set of lockers, which has more than made up for the loss of storage space. Other changes include deleting the pre-built sofa on the port side and the cabinet/table on the starboard side. The cherry paneling is starting to go in and looks sharp!
View looking forward.
They'll be inset panels in the overhead to match the locker doors below.
The squared off stack.
Another view of the stack.
and another, this time looking aft.
Starboard side.
Starboard Aft corner.
Port side.
Galley
The biggest change made here is the deletion of the microwave. With the large window, this would normally be above the forward counter. By going for a combination microwave/oven, we could gain more useful storage.
View looking forward
Aft starboard cupboard and drawers behind the stack. We made the drawers wider by moving the sink portside and shallower by adding a drawer.
Enlarged "spice rack"
Combo oven and large drawer.
Corner cabinet. Also note the small section of tiles I had placed on either side. Good choice, Stephanie!!
The pantry. Just behind it and to the right is a space "stolen" from the master head.
This space is usually accessed from the master head, behind the toilet. Turning it into a cabinet accessed here made the space more useful for us.
This is a cutout of the wall between the stairs going up to the pilot house and the stairs going down to the utility room. These stairs usually have a grab bar on either side of this wall. Instead, we're going to have a vertical bar placed at the end of the cutout. The open space should provide more light into what is otherwise one of the darker spaces in the boat.
Master Stateroom
Conveniently located in the middle of the main deck, the room is large enough to have a bed almost king sized. It's also the only room we'll be having a TV, though it's going to be a projector and screen rather than a wall mounted flat-panel.
View looking aft. They'll be a large mirror above the chest of drawers.
View looking portside showing the larger windows, inset panel head board and a ceiling mounted box for a projector.
Another view of the projector box. The white circle is a conduit down to the aft bedside cabinet, which is where the A/V stack will sit.
Close up of the head board.
View starboard. The valance will hide the projector screen, which is motorized.
Master head
View aft in the master head showing the wainscoting. Above the wainscoting will be a wall covering.
VIP Stateroom
Also known as "Steph's quilting room", we've reconfigured to make it more sewing friendly. Steph thinks "quilts", I think "canvas" :-) Gone is the bulkhead that usually divides this space fore-aft as is the second door to the head. In it's place is a pocket door to the head, a larger desk to starboard, a dresser forward and a slightly larger bed.
Looking aft
Larger desk. Aft is a storage locker large enough to hold a sewing machine.
Overhead storage
More overhead storage
View under the desk
This will be a dresser
More storage under the bed.
Pilot House
Ever since I got aboard a 62, I had this idea of opening up the pilot house on a 60. Finally the idea takes shape. Gone is the Captain's Cabin, removed by deleting the wall behind couch. The door is also gone and the AC duct to the soffit has been moved outboard. A round porthole adds light.
Looking forward from inside the space formally known as "The Captain's Cabin"
Looking aft from the port side
Looking forward.
This space will eventually include a "micro kitchen".
The port hole. There's going to be a counter with cabinet below.
Wait, there's more!
Before we head below, some additional woodworking we found while exploring the yard.
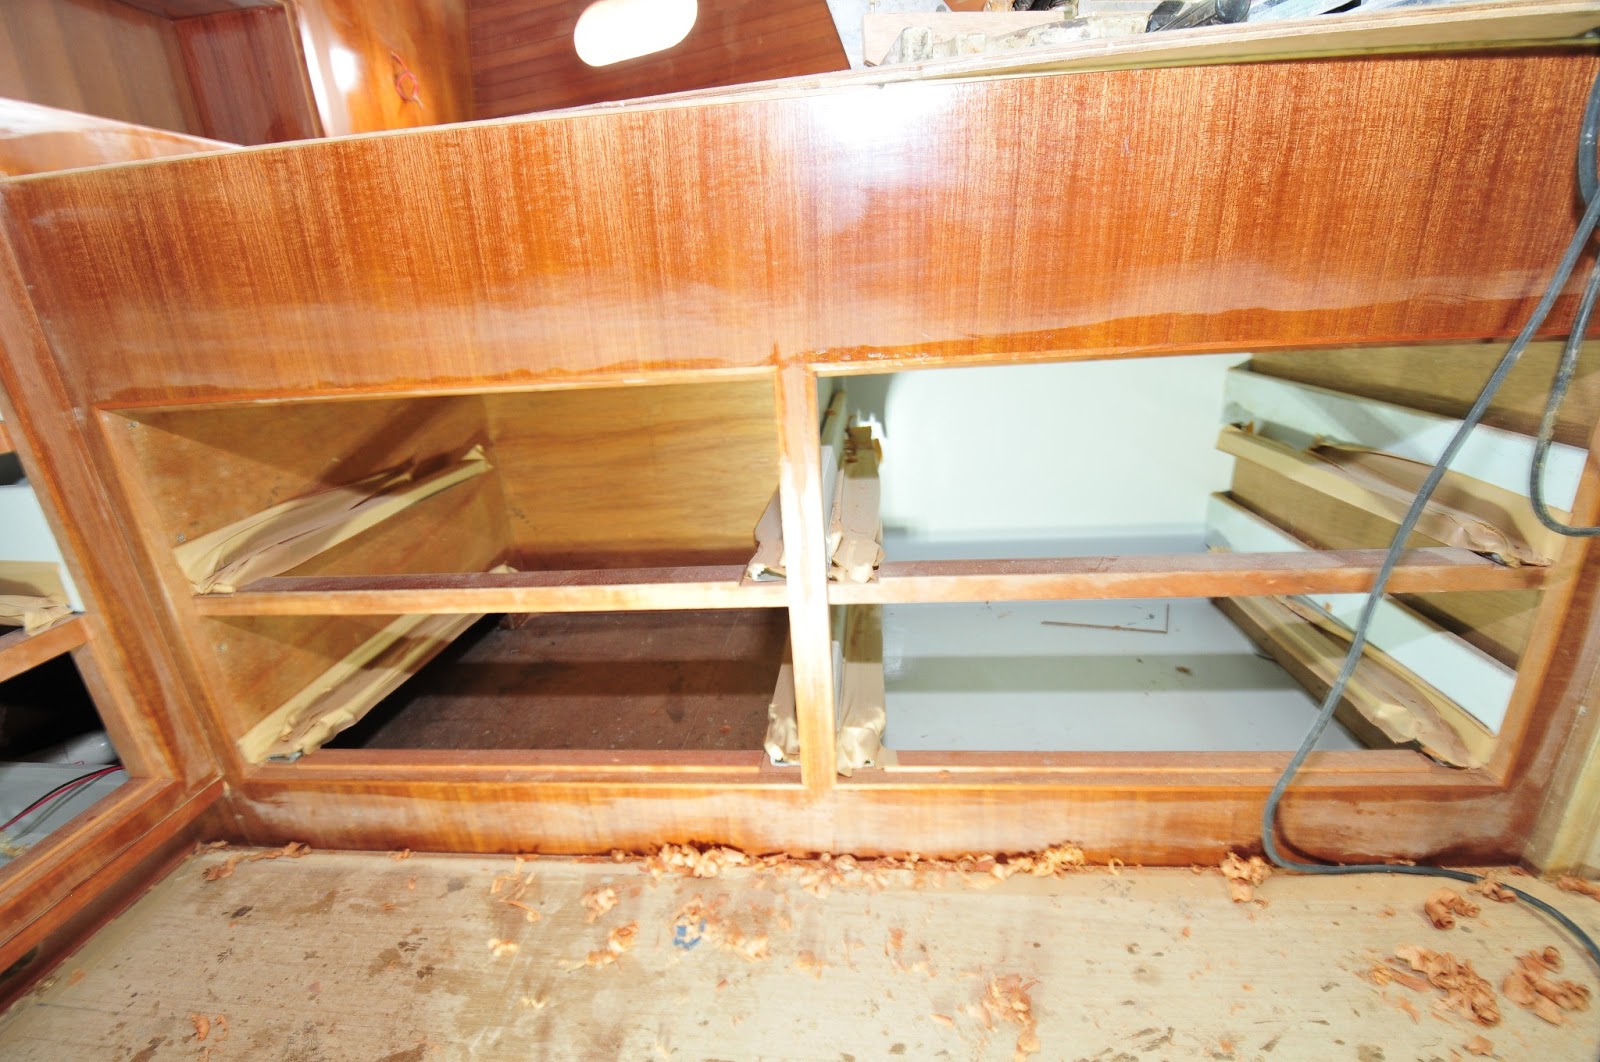
Drawers
More drawers!
In a few places the yard went with one large panel rather than 3 smaller ones. Looks sharp!
Locker doors
Doors. This one is a pocket door - you can tell by the square top.
Utility Room
As we head below we first enter a small room just forward of the engine room.
Washer
Drier
Extra locker. Normally this is not there, but on another boat we found an empty space behind the wall. Shame not to use it.
Hydraulic actuator.
Large monobloc now used by ABT. This replaces most of the "wall 'o tubes" in the engine room.
Hydraulic valve for the actuator
Engine room
Some would say the heart of any boat. It's nice to see it taking shape.
View looking aft.
Hydraulic heat exchanger and raw water pump. Two of the very few items that needed changing are right here. The pump is the incorrect model and the heat exchanger needs to be moved a few inches out board to allow for removing the endcap during servicing.
Hydraulic oil reservoir. All that's left of the "all 'o tubes" is to the right.
Hydraulic PTO on the main. It now sits off the gear box and has a clutch. No need to remove in case of failure.
PSS dripless shaft seal.
Hydraulic PTO on the wing. Note the cubby hole the wing sits into. The John Deere 4045 engine that is used for the wing "got longer".
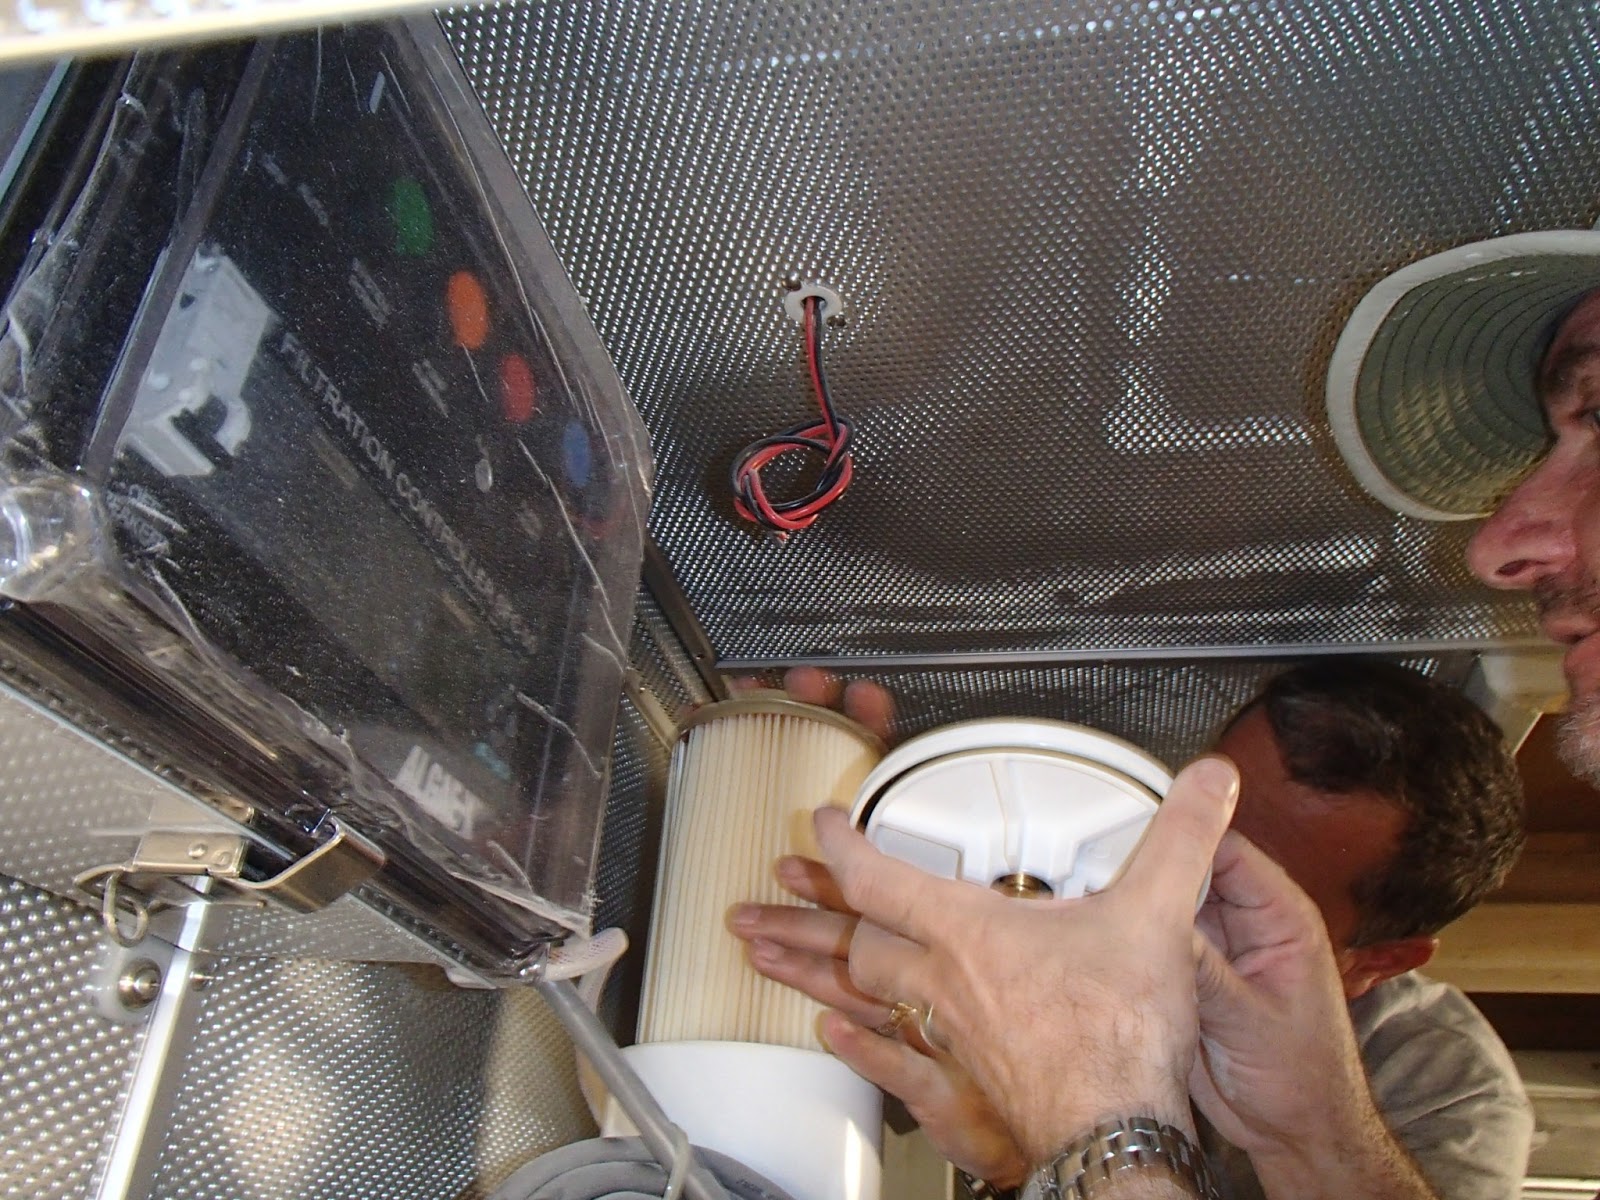
Fuel polishing system.
Checking that racors are servicable.
Yes! Plenty of room.
Lazerette
Very little machinery has been installed, which is good. It allowed Steve and me to layout the locations of all the equipment that needs to go in.
Looking aft. Just the smaller 9KW genset in there.
Rudder post and hydraulic stern thruster.
Manifold. AC or steering pumps - not really sure which one.